
Premier Nail Supply
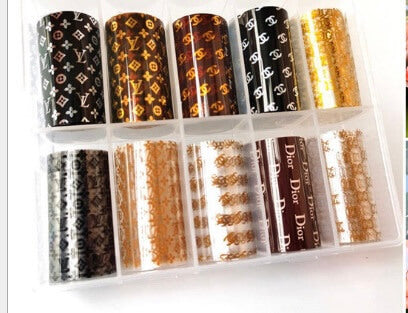
Nail Art Foil Set 10Design/Box
Nail Art Foil Set 10Design/Box
Couldn't load pickup availability
Nail Art Foil Set 10Design/Box.
What you need
-
Nail foil (design side down when transferring)
-
Foil gel (or foil glue)
-
UV/LED lamp
-
Base coat & top coat
-
Clean, buffed nails
-
Cuticle pusher/scissors (optional)
Step-by-step
-
Prep the nails
-
Push cuticles back, lightly buff the nail surface, and remove dust.
-
Apply base coat and cure.
-
Apply your color gel (if you want a background color) and cure fully.
-
-
Apply foil gel
-
Apply a thin, even layer of foil gel only where you want the foil.
-
Don’t flood the nail—too thick won’t transfer well.
-
-
Cure the foil gel
-
Cure under a UV/LED lamp (usually 30–60 seconds—follow your gel’s instructions).
-
After curing, it should feel tacky/sticky, not wet.
-
-
Transfer the foil
-
Cut a piece of foil slightly bigger than the nail.
-
Place the foil design side DOWN, dull side up.
-
Press firmly over the foil gel (use a silicone tool or your finger).
-
Rub gently, then peel off slowly.
-
-
Fix gaps (optional)
-
If some areas didn’t transfer, add a tiny bit of foil gel, cure, and repeat.
-
-
Seal it
-
Apply top coat carefully (floating the brush helps avoid smearing).
-
Cure, and you’re done!
-
Common mistakes to avoid
-
❌ Foil gel too thick or not cured enough
-
❌ Foil placed the wrong side down
-
❌ Touching the sticky layer before applying foil
-
❌ Skipping top coat (foil will chip)